Gothic fonts are unusually attractive which makes them a popular choice in branding and design projects. They typically belong in the sans-serif category and derive inspiration from the Gothic era. Gothic fonts are akin to Gothic architecture and are best-suited for vintage or retro designs.
Many words can be used to describe gothic fonts: grotesque, mysterious, grunge, artistic, blackletter, and others. Regardless of the description, gothic fonts most certainly add character to your designs. They can make your design appear bolder or spookier if you’re working on a Halloween-themed design.
Gothic fonts can also add a touch of elegance and a timeless quality if you opt for more complex and elaborate versions. They can be used for t-shirt and poster designs as well as for logos, promotional materials, book covers, and more. They can make your design appear majestic. To make your gothic font stand, pair it with a simple and clean secondary typeface. Not only will this create more contrast but it will also allow the gothic font to carry the entire design.
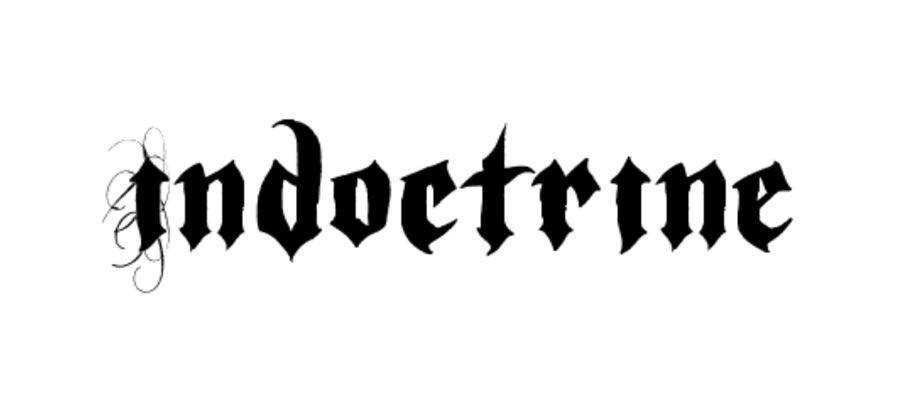
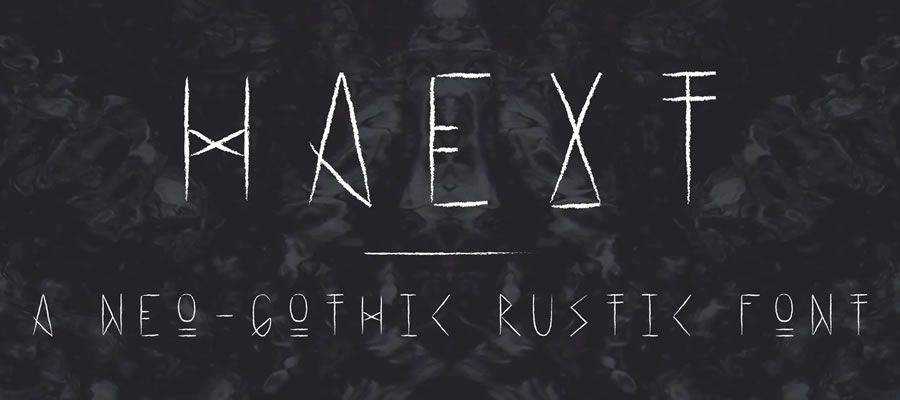
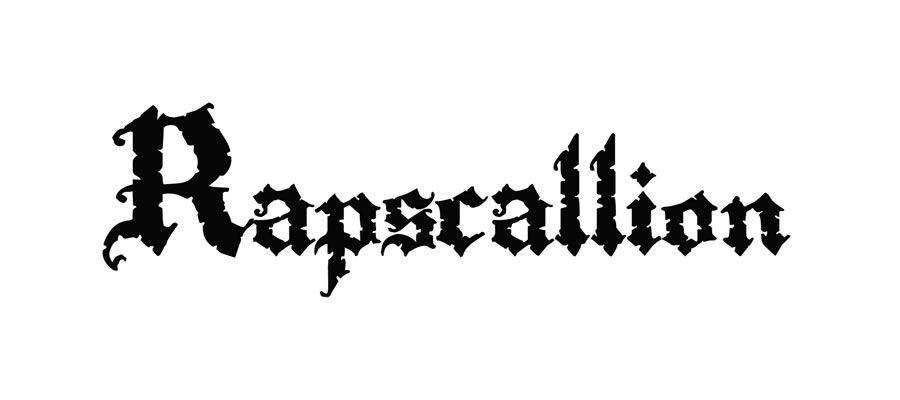
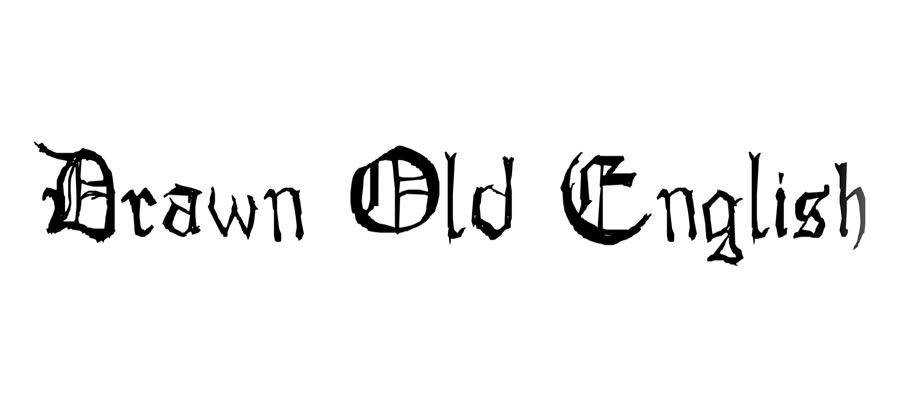
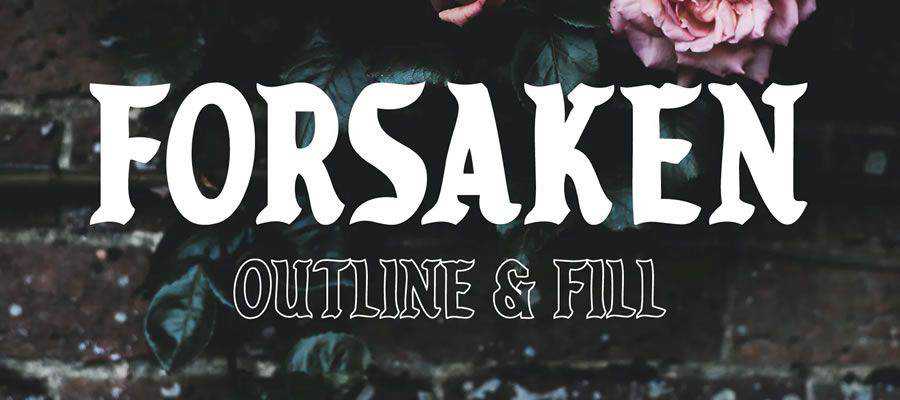
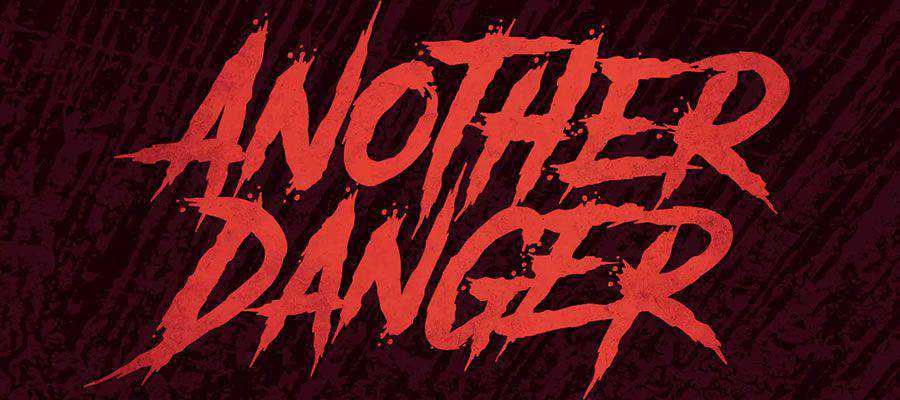
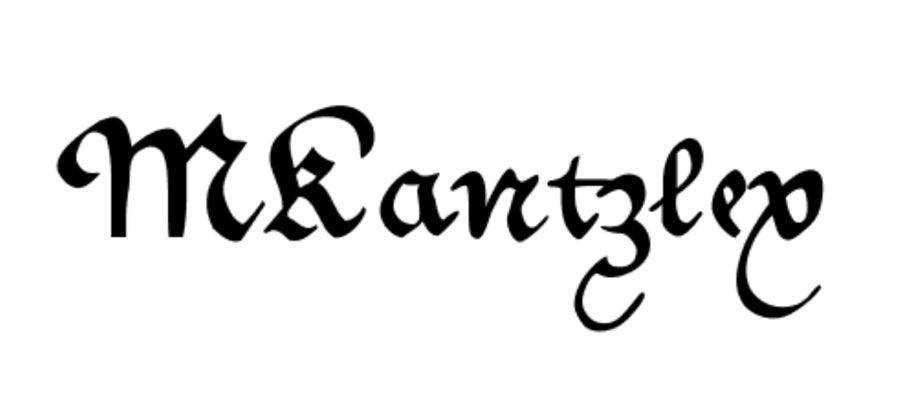
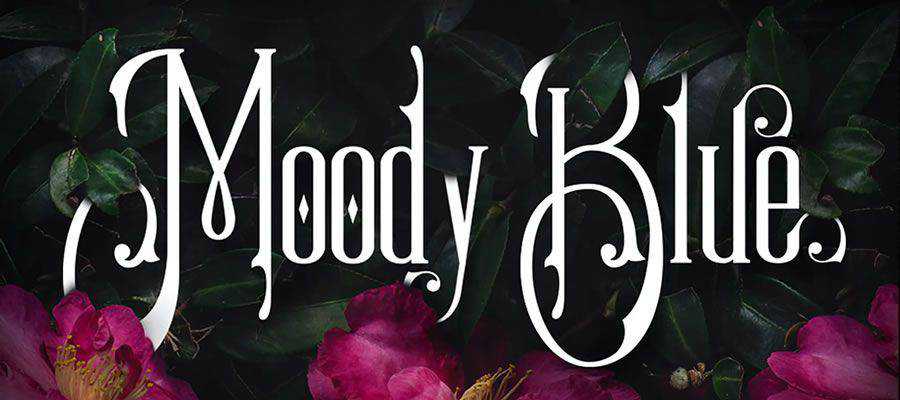
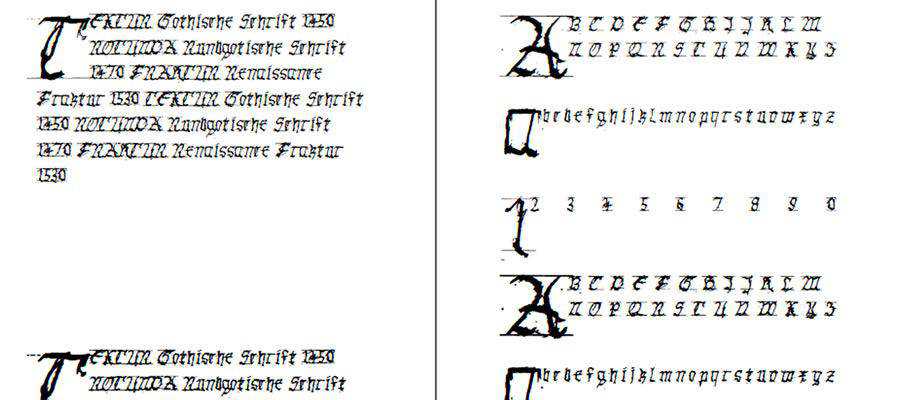
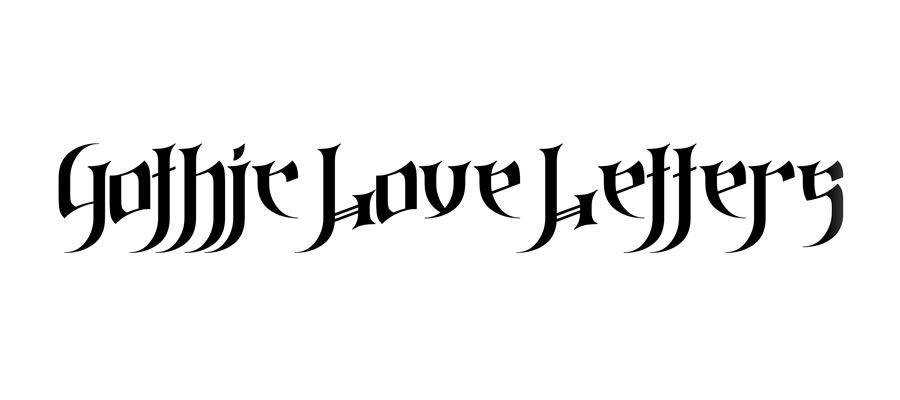
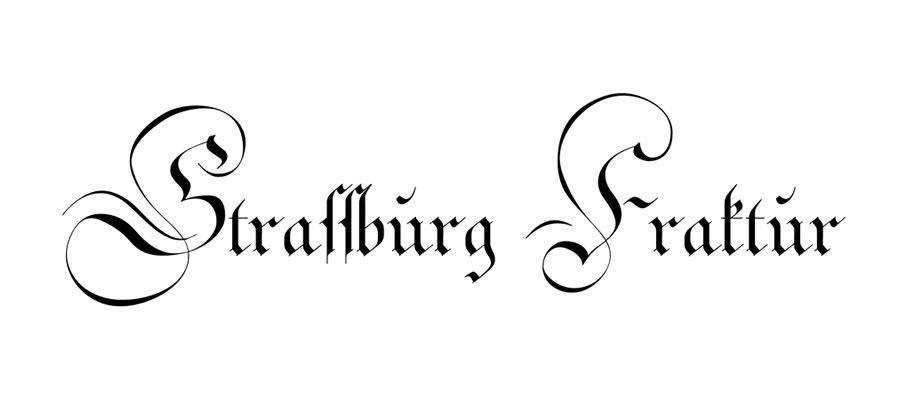
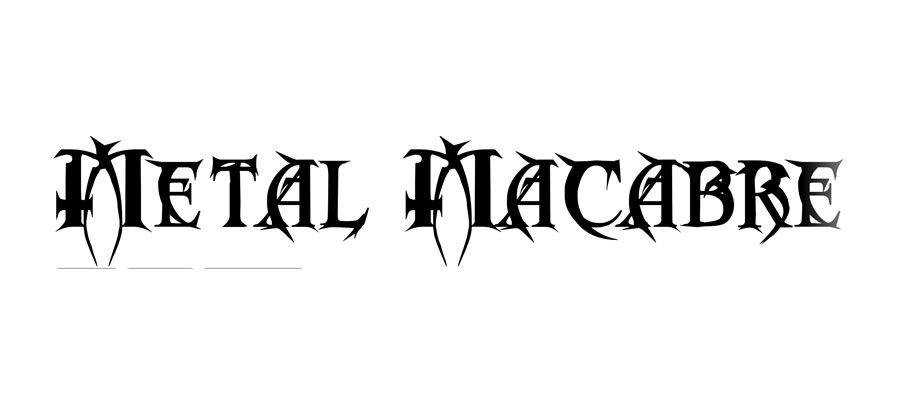
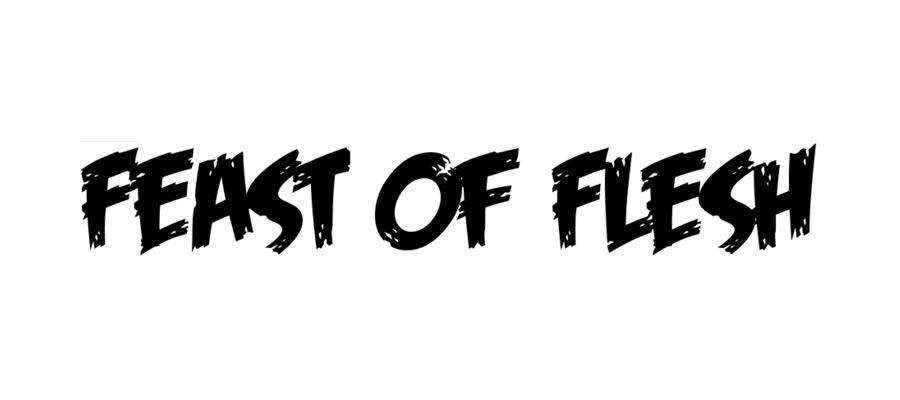
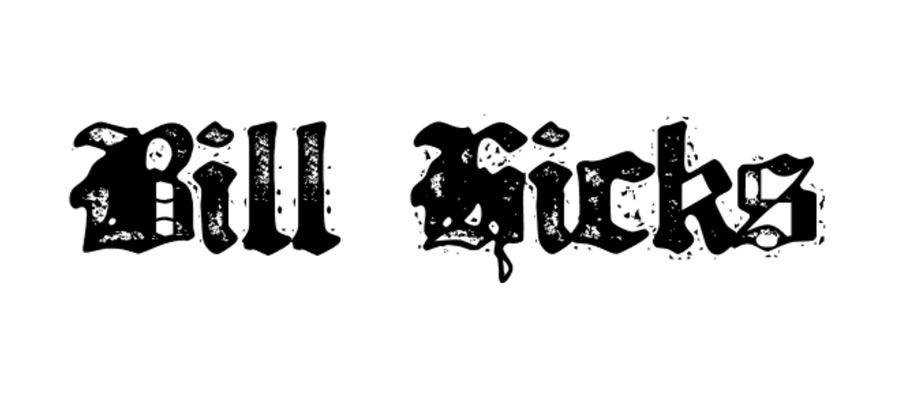
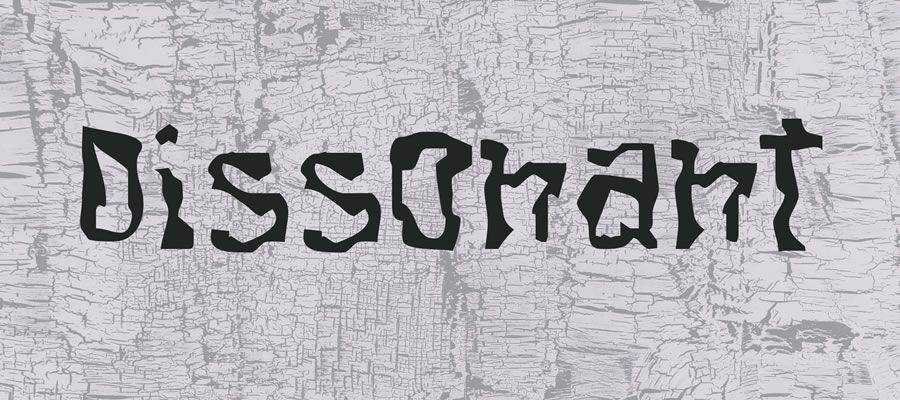
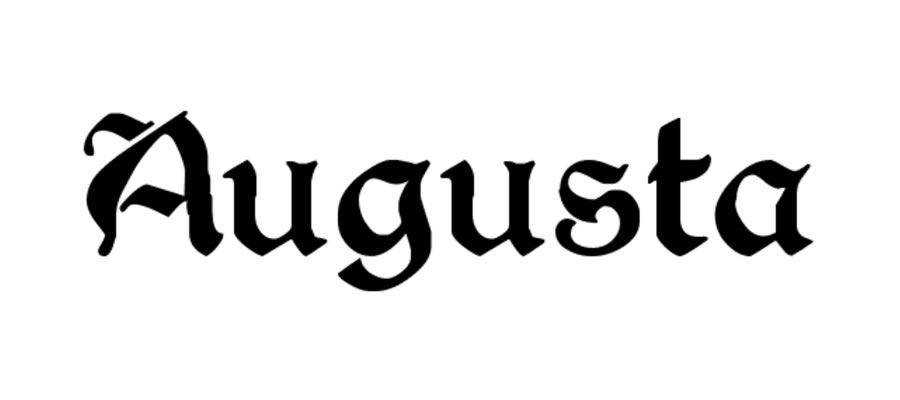
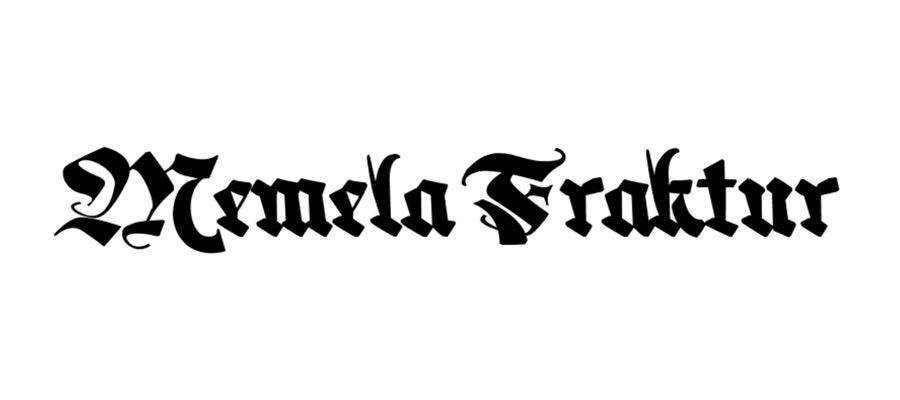
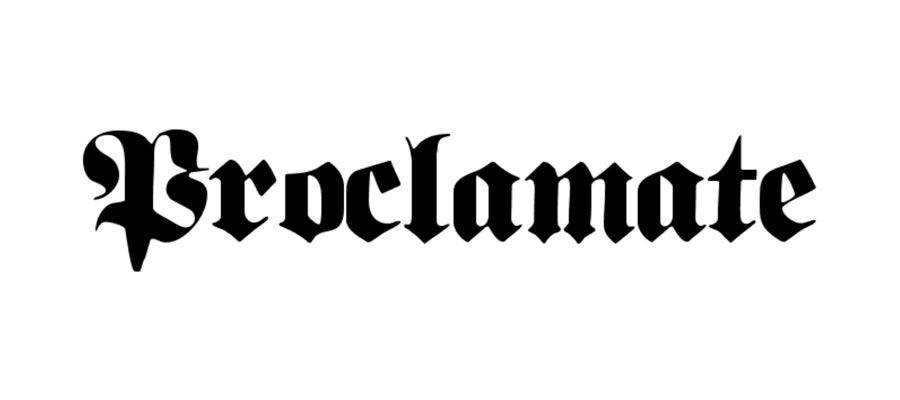
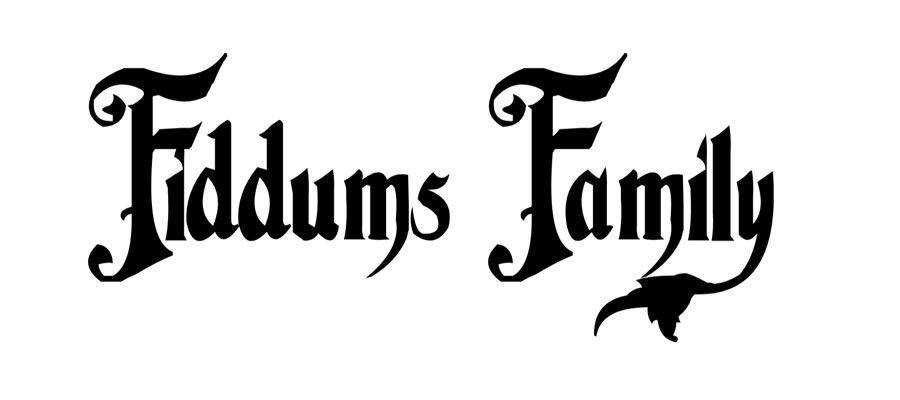
In this post, we’ve rounded up the best gothic fonts from around the web. You’ll notice modern and edgy gothic fonts as well as classic, blackletter gothic fonts. They can be used in a variety of projects, from simple logos to movie or promotional posters so take advantage of the roundup and fill up your designer toolbox with high quality, free gothic fonts. As always, be sure to check the licensing for each font and then get creative!
You might also like our collections of free clean fonts or free headline fonts.




Covenant (with Envato Elements)






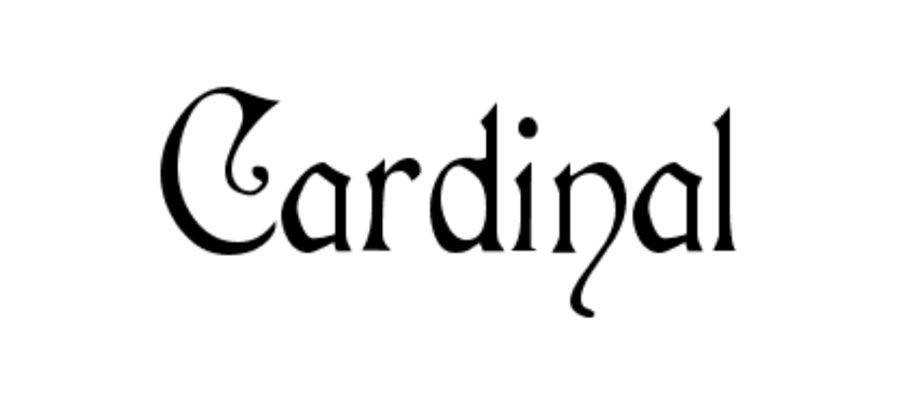

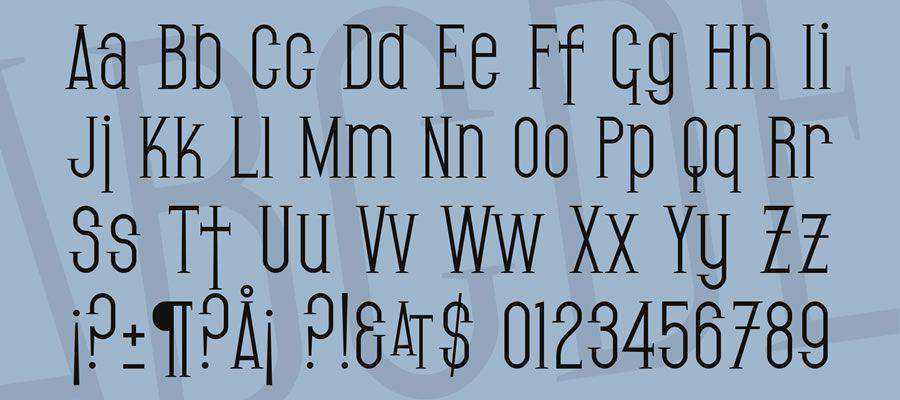
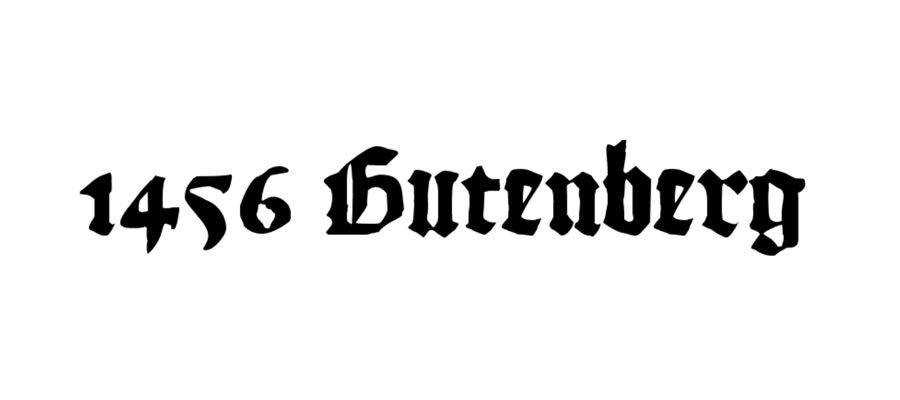

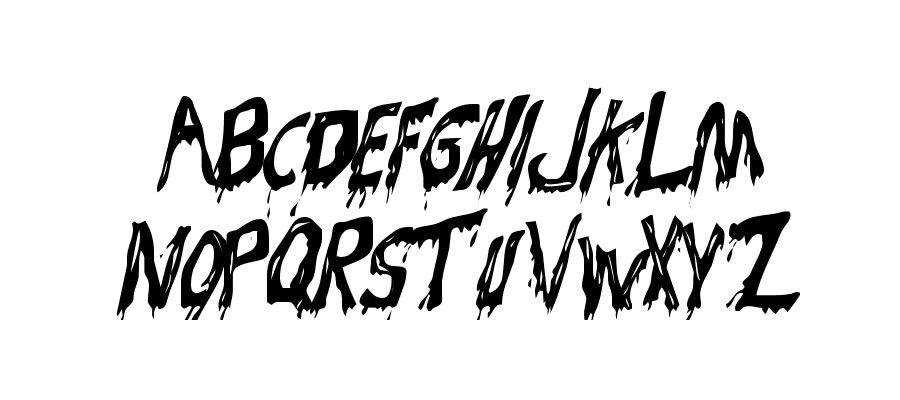

The post 30 Free Gothic Fonts for Designers appeared first on Speckyboy Design Magazine.
Some design elements are so common that they almost become afterthoughts. The horizontal rule is one of them. It’s easy to simply place them within our content without any attention to detail.
But this venerable HTML tag is capable of doing so much more – thanks to some clever CSS. Horizontal rules can be quite decorative, whether you prefer a bold or subtle design. They can also be used as an enhanced branding mechanism, complete with color and logo elements in tow.
If you’re looking to take your HR’s up to the next level, you’ll want to check out this collection of fanciful dividers that go beyond the default. Let’s dig in!
The Web Designer Toolbox
Unlimited Downloads: 1,000,000+ Web Templates, Themes, Plugins, Design Assets, and much more!
The Measure of an HR
This example is incredibly clever, if a bit on the extreme side. It features a large conglomerate of <hr> tags (100 in all) that are styled to simulate the look of a ruler. Practical? Maybe not. But it’s certainly creative.
See the Pen
A Horizontal rule-er by John W
Inline Lines
While this snippet doesn’t use an actual horizontal rule, it simulates the effect with CSS. Text or other design elements can be placed inline with the divider, making for an attention-grabbing effect. It’s also delightfully simple in terms of code.
See the Pen
Inline horizontal rule by Ohad
Iconic Shapes
Here’s proof that subtlety can still stand out. A standard horizontal rule is enhanced with shapes (circle, diamond, star, etc.) and provides for an attractive visual. Combined with the rule’s short width and bright color, it helps readers delineate one section of content from another.
See the Pen
Fancy Horizontal Rules by szpakoli
Accordion Rules
Accordions have become one of the more popular UI elements due to their penchant for being space savers. This pure CSS take on the feature includes horizontal rules as part of the usable interface. A rare instance of the good old <hr> being used for functional purposes.
See the Pen
Accordion Effect with Horizontal Rules by Will Boyd
Simple Style Variations
This snippet offers up 9 interesting horizontal rules that can fit a variety of styles and use cases. Examples include the usage of symbols, centered text, colors and border patterns. There’s something here for everyone.
See the Pen
Some HR Styles by Mark Murray
Medium Style with Accessibility
Placing text inside a horizontal rule can be tricky. It often involves techniques that aren’t very accessible. This snippet is different, as it utilizes content from <h2> tags. It not only offers a cool Medium-style aesthetic, but it’s friendly to screen readers as well.
See the Pen
Accessible Medium Style Dividers by Zoë Bijl
Decorative and Minimal Designs
Perhaps you’d like your dividers to look nice without distracting from the rest of your content. This collection of 18 simple styles is for you. The effects are well-executed without going over-the-top with flashy features.
See the Pen
18 Simple Styles for Horizontal Rules (hr CSS Design) by Ibrahim Jabbari
Charlie Brown’s Shirt or Bart Simpson’s Hair?
When viewing this zig-zag pattern, one conjures up images of cartoon characters. But its also a clever bit of code. It’s a combination of two <hr> tags with angled CSS gradients. Now, which character does it best represent? Let’s go with Bart’s hair.
See the Pen
Zigzag Horizontal Rule by m0cha
(Horizontally) Divide and Conquer
Sure, the default styling of a horizontal rule gets the job done – but where’s the fun in that? Take a cue from the examples above and create something that compliments all of your great design work.
Need even more inspiration? Check out our CodePen collection for more divider snippets.
The post 8 Horizontal Rules and Dividers Enhanced with CSS appeared first on Speckyboy Design Magazine.
Pricing is one of the most challenging aspects of being a freelance web designer. More specifically, determining what a client will receive in exchange for a particular price.
The struggle is real. In my two-plus decades of running a business, this is still an area where I falter from time to time. The line between charging too much or too little can be difficult to figure out. For many of us, the trend seems to tilt towards the latter.
Ideally, you’d like to ensure that your clients are getting exactly what they pay for – and that you aren’t being taken for a ride, either. But how do you know when you’ve hit the mark? And what happens when the amount of work you put in exceeds the price you quoted?
In an effort to help freelancers (myself included), let’s explore how to more accurately estimate costs and fill clients in on the details.
The Web Designer Toolbox
Unlimited Downloads: 1,000,000+ Web Templates, Themes, Plugins, Design Assets, and much more!
Gain a Full Understanding of Project Requirements
The first step should be to know as much about the project requirements as possible. Perhaps that sounds easy enough. Yet, it can be very difficult to get the full picture of what needs done.
Sometimes the conversation is simply too broad. When discussing a project with a prospective client, they’ll often talk about the desired end result. While that’s good to know, it does leave out an awful lot of other key information.
Getting to that outstanding end result takes a lot of effort. The process requires web designers to work within certain parameters. Things like web hosting constraints, the capabilities of available third-party software and existing implementations come to mind.
Now, we can’t expect our clients to grasp all of this right away. It’s on us as web professionals to bring all of these details to light. To do that requires asking a lot of probing questions about what a client needs and balancing it against available solutions.
It’s not necessary to be overly-technical when speaking with a client – that may only serve to scare them. But you will want to take note of the technical concerns that pop up during that conversation. You can then circle back to these issues later on when writing a proposal.
If you need more clarity – don’t just make a guess. Do the required legwork to get the most accurate answers possible. Only by knowing the true scope of the project can you price accurately. More often than not, laziness in this area will cost you.

Calculate Pricing in a Way That Makes Sense for You
Another part of the equation (see what I did there?) is in developing some sort formula for pricing. Too often, web designers offer “ballpark” pricing that is meant to cover them in case there’s more work involved than initially thought.
The trouble with this technique is that it doesn’t necessarily provide you with much protection. Especially so if the price doesn’t reflect some sort of reality.
For example, you might tell two different clients that building a website from scratch will cost $2,000. But if their needs differ, how do you know for sure that this will cover the actual time and energy you put into each project? You might come out ahead, but the opposite is also very possible.
To ensure fairness all around, put a basic pricing structure into place. It’s not something you have to necessarily share with clients, but rather an internal formula you can use to judge the costs involved.
It can be customized based on the services you provide and the way you prefer to work. As an example, you could set pricing for items such as:
- Prototyping a design mockup, with a limited number of client revisions allowed;
- Custom programming (per hour or block of hours);
- Content placement and formatting;
- Browser and device testing;
- A final round of code and design tweaks before launch;
- Launch-related work;
- Client training;
Of course, you can craft this type of list in a way that best reflects your business. But the main idea is to set baseline pricing for each item on the list. From there, you can incrementally adjust them according to project needs.

Should You Add Extra ‘Cushion’?
Even with the steps above, there’s still a possibility of getting it wrong. There could be an obstacle you didn’t anticipate or a client might change their mind about a particular item. Some things we miss, some are just unknowable.
Because of this, you may want to put another item onto your internal pricing structure: incidentals. This provides you with a little extra protection for the seemingly inevitable things that take up more of your precious time.
Again, you can personalize this accordingly. Maybe it’s just a flat charge or can be scaled up depending on the size of the project. Much depends on the types of projects you typically deal with.
If you decide on scaling that cost, another possibility here is to specifically write this into a contract. Specify that, if work goes beyond a certain threshold, costs may increase by x amount per hour or 5-hour block. Of course, I’m not a lawyer – so be sure to ask one before making any final decisions.

Stop Leaving Money on the Table
We all want to be fairly compensated for our work. But in order for that to happen, it requires a diligent approach to pricing. Otherwise, we’re really just grasping in the dark.
Still, none of us are perfect in this area. I still find that, despite the fact that I should know better, I sometimes underestimate the amount of work required. Whether that’s due to ignorance or arrogance, there’s a cost.
But the best way to combat the issue is to put in the prep work. Learn all that you can about a project and set pricing based on that data. Then, expect the unexpected as best you can.
While it may not work every single time, you’re more likely to feel like you charged the right amount for your efforts.
The post How ‘Lazy’ Price Estimates Can Cost Freelancers appeared first on Speckyboy Design Magazine.


