ReactPHP Chat Client
Read more at https://www.phpclasses.org/package/11737-PHP-Implement-a-live-chat-system.html#2020-07-27-04:33:47
All creative professionals can benefit from having an online portfolio. They’re great for attracting new clients and can even provide a trip down memory lane – letting you reminisce about what you’ve learned over time.
Still, it’s possible to obsess over a portfolio a little too much. For example, adding certain features to a project just so you can list it could be a sign of mixed priorities. Are you designing to serve your current client or to impress the next one?
Maybe that’s not as big of a sin as we might think. There is also a legitimacy in wanting to show off your full range of skills. Many of us might cringe at the thought of being pegged as a proverbial one-trick-pony, only capable of recycling the same tired design.
But if all of the projects in our portfolio look similar, does that really mean we’re incapable of more? Of course not. There’s more to this than meets the eye. Let’s dig a little deeper.
The point of a project – whether it be a website, mobile app or print piece – is for people to consume it. In the vast majority of cases, this does not require a designer to do something no one has ever done before.
Really, it boils down to: looking good, being easy to use and understand. If something we create does those three things, maybe it’s safe to call it “good design”.
Yet, we don’t always see things that way. We may see something that looks cutting-edge and feel like we’re just not in the same league as another designer. That’s why looking through collections like Awwwards can be both inspiring and a bit depressing.
Thus, even if you can’t call any of your work “groundbreaking”, that doesn’t speak to its overall quality.

It stands to reason that the specific client and project type means a lot when it comes to design. They’ll go a long way towards determining the appropriate look and features.
After all, the point is in making your client look their best. That often means staying within the expected parameters of what a website in a particular industry must achieve.
If you’re building a site for a law firm, for example, it’s got to look clean and professional. There won’t be a lot of room for far-out special effects or typography. On the contrary, a site for a photographer or visual artist naturally lend themselves to experimentation.
Sometimes, the biggest impediment to showing off your creativity is having the opportunity to do so. The bigger the variety of project types you take on, the more varied your portfolio will be.
That being said, a designer who stays within a certain niche and budget range will likely have a lot of projects with a similar look. It’s not any sort of judgement on one’s abilities. Rather, it’s just the result of designing for the realities of a given project.
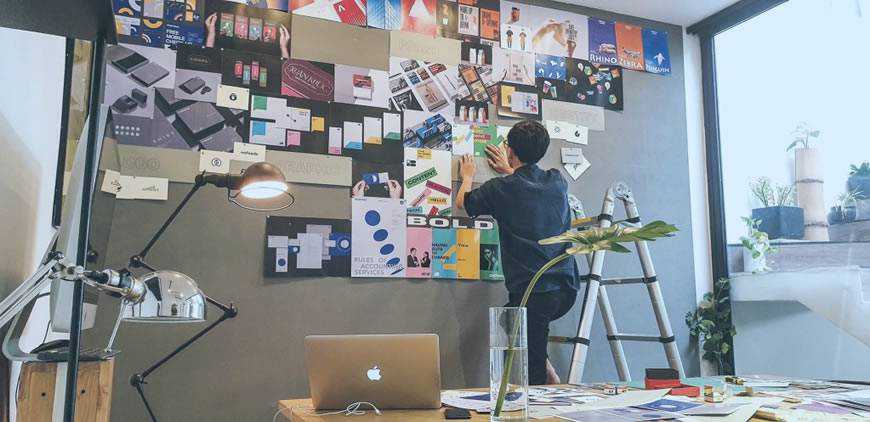
Perhaps your typical clientele doesn’t provide you with a lot of opportunity to take chances with design. So be it. This doesn’t mean that you have to keep things completely unimaginative.
There are still plenty of ways to add your own signature style to the mix. Areas such as layouts and microinteractions can have a big impact, even if they aren’t groundbreaking.
The goal should be to make the most of what a project affords us. Even if we don’t necessarily have the mandate and time to create something Awwwards-worthy, there is still room for creativity. And that will shine through in your portfolio.
When a potential client takes the time to click through your work, they’ll see the difference. The attention to detail will be apparent (if not, point it out!) – and it may be what sets you apart from the competition.
Beyond that, it is often said that your portfolio needs to reflect the types of projects you want to attract. If you really want to change your narrative, then going all out on side projects or even the design of your portfolio itself can help you show more depth.
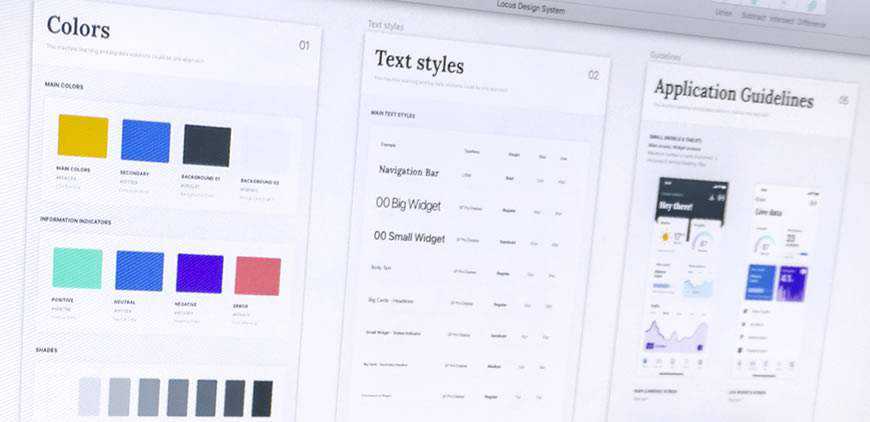
When you think about it, a portfolio can mean different things to different people. It all depends on what you do and who your target audience is.
In that way, a freelance web designer’s portfolio may well serve a different purpose than that of a 3D animator. For the freelancer, it could be about showing consistent quality over a number of projects. If they all happen to sport a similar look and feel, that’s not such a bad thing. Having that “wow” factor may indeed be more important for the animator in our scenario.
So, if you look at your past projects and see a certain sameness to them, try not to take it as a negative. Instead, consider how each of those projects turned out – were they successful? If so, that might be good enough reason to shift your perception.
The post Do All of the Projects in Your Portfolio Look the Same? That’s OK. appeared first on Speckyboy Design Magazine.
tl;dr: Add data-lazy="true" to your Facebook social plugins that are below the fold and reap the benefits.
In code:
// before
<div
  class="fb-like"
  data-href="https://phpied.com"></div>
// after
<div
  class="fb-like"
  data-href="https://phpied.com"
  data-lazy="true"></div>
The following 18 seconds video demonstrates the difference. Where currently your visitors load Facebook iframe content even if it's way down the page, after you implement lazy-loading, they'll only load the iframes if there's a chance of ever seeing them. Look for the like.php request and its dependencies.
Facebook's social plugins are pieces of Facebook content you can embed into your pages. Like buttons, share buttons, comments, embedded videos, posts and photos and so on.
The plugins are iframes that point to e.g. facebook.com/plugins/like.php, facebook.com/plugins/comments.php and so on. Some plugins allow you to create the iframes youself, where others do not. And in general it's better not to. Why? Because content can vary based on language and other factors and by creating the iframe yourself you risk the content being cut off.
So who writes the iframes then? The FB JSSDK. You load the SDK (asynchronously, of course) and sprinkle divs where you want the plugins to appear. The SDK writes and resizes the iframes as required.
Browsers now support native lazy-loading of iframes.
Facebook now supports native lazy-loading of all social plugins.
All you have to do is add the data-lazy="true" attribute to your plugin div elements.
Quick answer: otherwise your visitors may see some content shift.
Long answer: in order to resize the plugins in the best possible way, based on content, the FB JSSDK initially creates the plugin with visibility: hidden and with a size of 1000x1000 pixels. The iframe itself is inside a 0x0 container. After the iframe loads, it informs the SDK of its size and the SDK resizes the iframe and makes it visible.
In this case visibility: hidden prevents native lazy-loading in Chrome. Reason: analytics should not lazy-load even when the developer sets iframe loading="lazy". This is a questionable decision, but that's how it works for now.
So to support native lazy-loading as currently implemented, the FB JSSDK creates a visible iframe inside a 1x1 container (turns out 0x0 container also kills native lazy-loading in Chrome). So if the content is above the fold a 1000x1000 iframe inside 1x1 container may cause some visible content shift or overlap other content even if not visible outside 1x1.
If your plugin is only visible below the fold (most often), Chrome's aggressive (or "safe" is the right word?) loading gives plenty of time for the loading and resizing to take place.
This should be on developers.facebook.com, no? Right. However two weeks ago was my last day at Facebook. The Sunday prior my last Monday I debugged with the help of Chrome folks Addy and Dominic and managed to send the diff on Sunday, get it approved Monday, land (thanks Brad!) and barely had time to update the docs. No time for official announcement.
Your turn! Go to your plugin implementations and add data-lazy="true" for all plugins below the fold. Comments, embeds, like/share buttons at the end of an article and so on.
Your users will love you for it! Battery lives and data allowances will be saved. The web will be less congested.
Icons can be used in a variety of projects when you need to add extra visual appeal or make it easier for people to visualize a concept or memorize something. While icons are usually associated with websites and printed material, you can also use them in your video projects.
There are a plethora of animated icon packs available online that you can download and use in your projects or use them as an inspiration when creating your own. Browse our collection of the best free animated icon packs for Adobe After Effects.
This creative icon pack has 15 different icons that are perfect for any technical niche. The template makes it easy to customize the icons with your brand colors thanks to the intelligent color controller.
![]()
Consider this social media icon pack if you’re looking for icons with a unique design. This icon pack is a great choice for any food-related business or brand that specializes in children’s products and that uses video as part of their marketing strategy.
![]()
If you need social media icons for your project, then check out this free social media icons pack. You’ll find icons for all major social media networks and you can use the default colors or customize them with your own.
![]()
This icon pack includes an impressive number of 1000 icons that cover almost any niche. You’re bound to use this library over and over in your projects, especially since it was designed using the flat design.
![]()
Technicons is another set of technical icons for After Effects. This icon pack comes with 30+ animated icons to make your projects pop and you’ll also find a variety of business icons which makes this pack suitable for all kinds of projects.
![]()
Consider this lovely pack of animated icons if you’re looking for a stylish design. The icons are done up in a modern, thin line style and are perfect for a variety of different projects such as tech videos, fashion videos, and more.
![]()
This free icon pack includes 20 different icons that can be used for both business and personal projects. The icons are all pre-rendered footage so you can use them in any video editing or motion graphic software and you’ll also get the project file included in the download.
![]()
Another icon pack with a large selection of different icons that can be used in business, technical, and other types of videos. The icons feature a modern, flat design. You can change the size as well as the color of each icon.
![]()
As the name suggests, this icon pack is another flat icon pack. The pack comes with 10 free icons that can be used for corporate and business videos.
![]()
Consider the Anicons icon pack if you want a complete icon library that can easily be customized. The icon pack allows you to easily animate and adjust icon parameters very easily. The pack contains 40+ icons.
![]()
When you need to add extra visual appeal to your video projects, consider using icons. They can help you illustrate abstract concepts and make it easier for people to remember information. With the help of these icon packs, you will be able to make your videos more interesting and you can use them in as many projects as you’d like.
The post 6 Free Animated Icon Packs for Adobe After Effects appeared first on Speckyboy Design Magazine.
The bokeh effect has a multitude of uses within digital art. It can be overused, sure. But it can also be simply stunning. Trying to recreate this look on your own would be a time-consuming task. Thank goodness for Photoshop actions, right?
What you’ll find here is a fantastic set of Photoshop actions that greatly simplify the process for making the bokeh effect. Most of these can be implemented with just one click and offer a wide range of stunning results.
It’s a good idea to try a few of these effects for yourself to see which would best serve your work. You’re certain to find something that works well, and that speaks to your specific needs. Now, without further delay, let’s jump right into the list!
The Dual Light Photoshop Actions set creates a beautiful double light effect on any photo of your choosing and add smoke and bokeh effects. The final image is layered and can be customized in a wide number of ways. This action set also comes with 20 color presets.

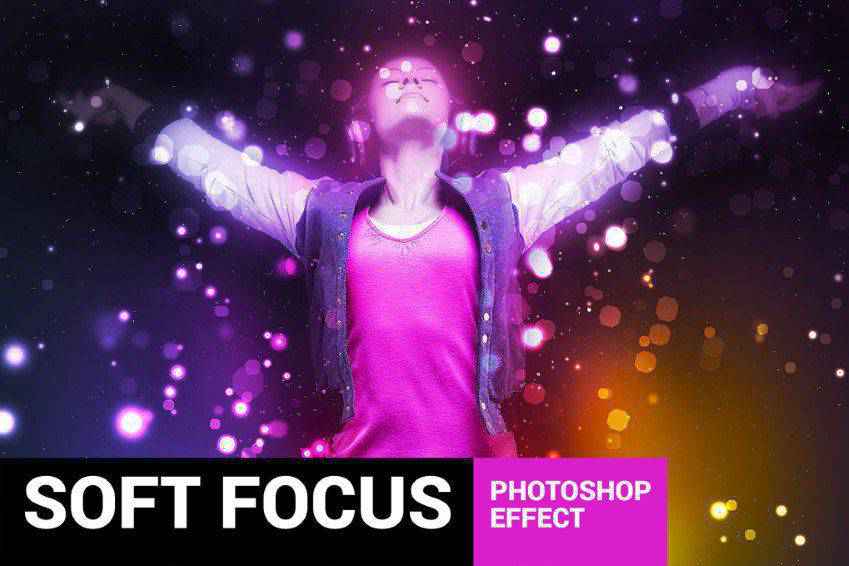
Another action set you might want to consider is the Soft Focus Photoshop Action. This one works quite simply. Just add it to a specific area of a photo that you want to remain in sharp focus, then play the Action. The end result is a soft focus on the rest of the image which provides a bokeh effect.

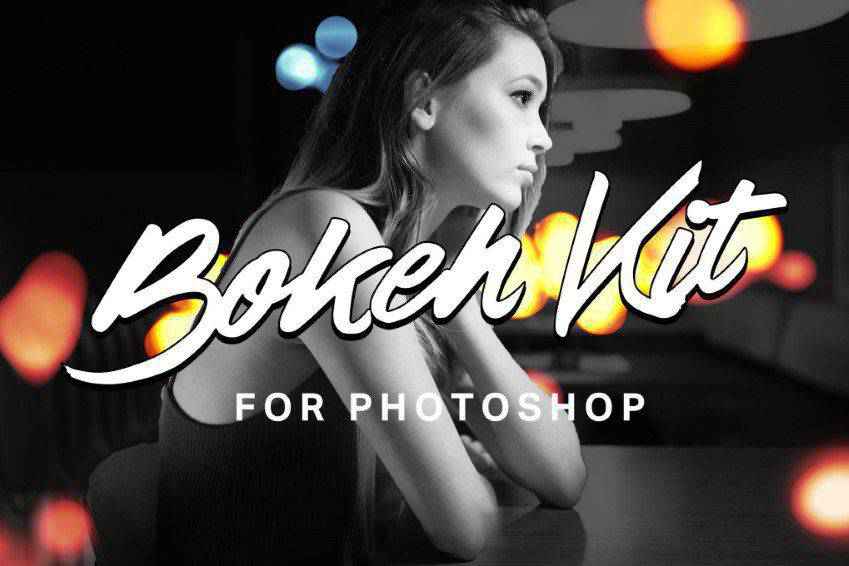
The Bokeh Kit for Photoshop is another fantastic option. It’s minimal in effect but really cool and can transform your photographs in a variety of ways. This kit actually has a lot going for it, in that it’s not just a bokeh Photoshop action. It also comes with 8 bokeh gradients and 40 bokeh brushes to help give you more control over the end result.
Another great option is the Bokeh Bomb Creation Kit for Photoshop. It’s chock full tools and resources for adding bokeh effects to your photographs. This kit comes with eight smoke effects, fast rendering, and snapshot prerendering play. It’s also nondestructive, so you can revert an image back to your original photo if need be. Other features include 20 bokeh gradients and 180 bokeh overlays.

You might always want to check out the Holidays Bokeh Photoshop Action set. This one comes with just one action file and one brush file and is supplemented by a thorough how-to file. It’s completely easy to use, non destructive and compatible with all of the latest versions of Photoshop.

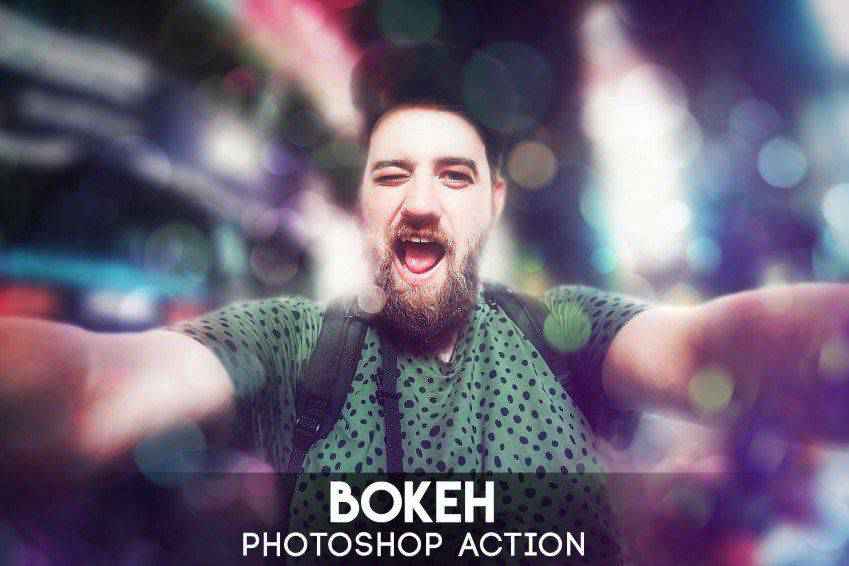
This is another great option designed with selfies in mind. This Photoshop action works by turning your selfies or iPhone photos into professional-looking photos by adding a bokeh effect. The action has 10 color effects that you can use as well to further customize the finished product. A help file and video tutorial are also included for your convenience.
The Brightum Soft Focus Photoshop Action is definitely worth considering as well. This action works by creating soft focus and light effects on your photos. All you have to do is select on area then click play. From there, you can make adjustments to color, contrast, and gradients as well thanks to 10 color presets and well-organized layers.
If you want to leave your viewers dazzled, the Shimmer Photoshop Action is a great option. This action works as follows: brush the area of the photo you want to add a sparkle effect to then click play. That’s it! The end result is bright area of the photo that draws the eye and looks like it’s shining with tiny pieces of glitter.

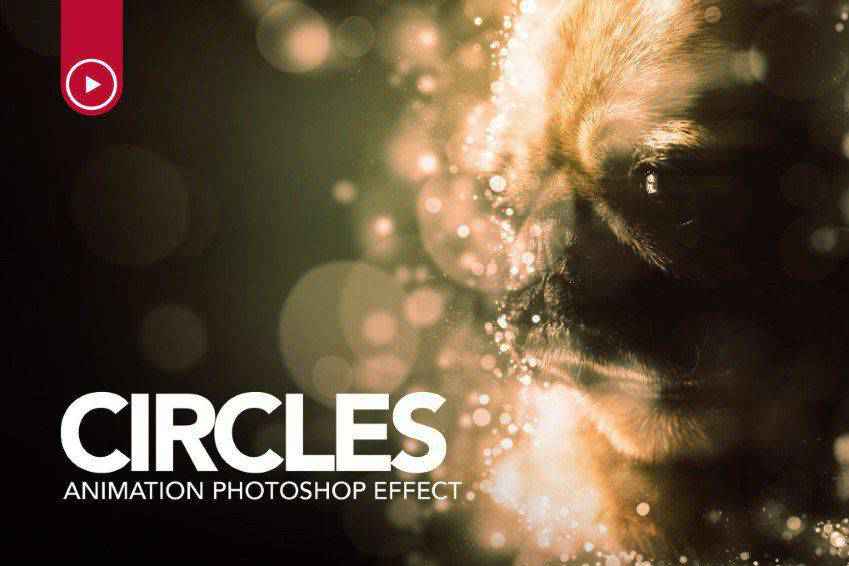
And check this one out! The Circles Animation Photoshop Action is a great one to add to your toolbox. With just one click, you can add soft focus light effects around The end specific area of a photo that you select. The end result is a sparkling effect that pulls in the eye.
The Glory Photoshop Action is super easy to use. All you have to do is fill in your chosen subject with a color of your choice, select a light direction, then play the action. That’s it! You can select from 8 different light directions and the end result is non destructive as well so you can undo the effect if you don’t like how it turned out.

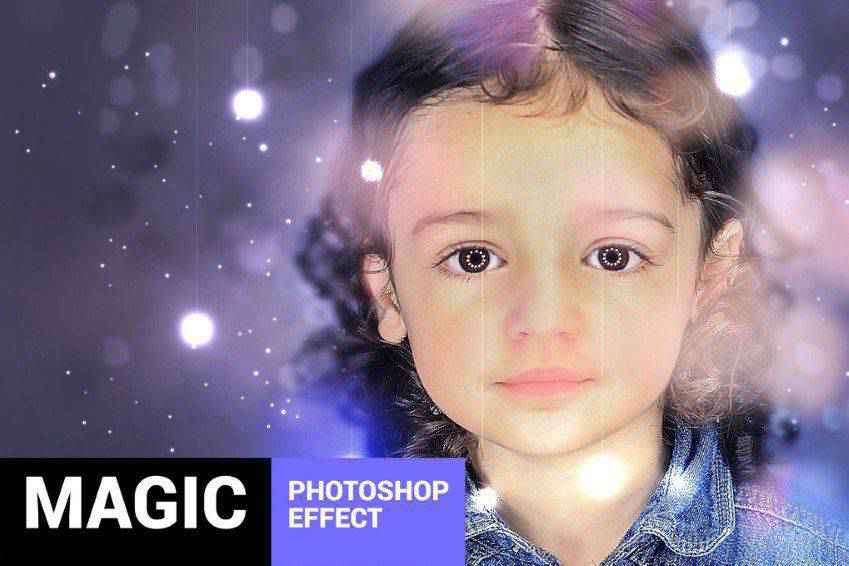
The last action on our list is the Dreamy Photoshop Action. This one adds firefly effects with soft focus to your images. Select the area you want to highlight and click play. That’s all there is to it. This action comes with 10 color presets, graphic elements, and it’s layered and organized for convenient use (and undoing, should the need arise).
We hope you enjoyed this list of the best Photoshop actions for creating the bokeh effect. Bokeh is versatile and relevant for a wide number of photographs and design choices. And in the end, after you’ve experimented with a few of the actions provided here, you’re bound to capture a look that fulfills your artistic preferences. Best of luck!
The post The 10 Best Photoshop Action Sets for Creating the Bokeh Effect appeared first on Speckyboy Design Magazine.