10 Interesting JavaScript and CSS Libraries for June 2019

Our favorite libraries, frameworks, and open-source projects for June 2019.
Continue reading on Tutorialzine.
Comments are closed.
Our favorite libraries, frameworks, and open-source projects for June 2019.
Continue reading on Tutorialzine.
A quick tutorial on how to create eye-catching parallax scroll animations using a modern JS library.
Continue reading on Tutorialzine.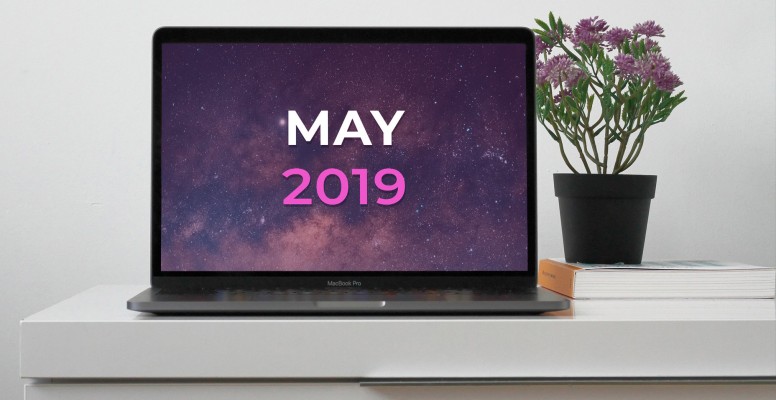
A curated list of our favorite open-source projects for the month of May.
Continue reading on Tutorialzine.
Our web dev resources collection for April is filled with amazing open-source projects, useful CSS tools and React components.
Continue reading on Tutorialzine.
The newest installment of our monthly web dev collection is here and it is packed with amazing new frameworks, useful tools and other awesome resources.
Continue reading on Tutorialzine.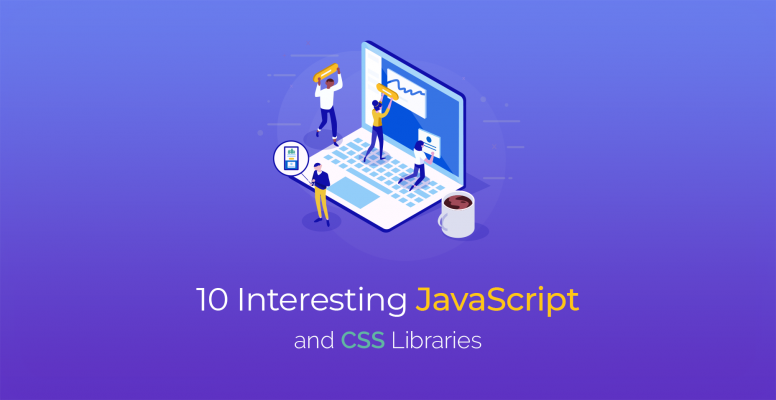
This month's web dev collection has it all! Cool CSS frameworks, powerful JS libraries, and a couple of fun projects thrown in for good measure.
Continue reading on Tutorialzine.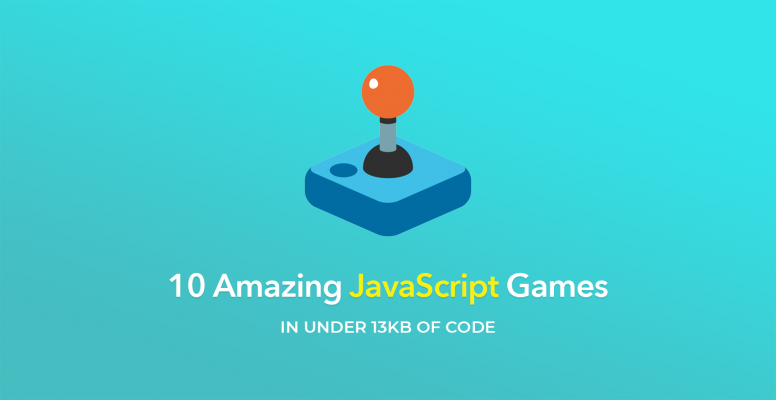
A collection of awesome browser games, each one masterfully crafted with only 13 kilobytes of code.
Continue reading on Tutorialzine.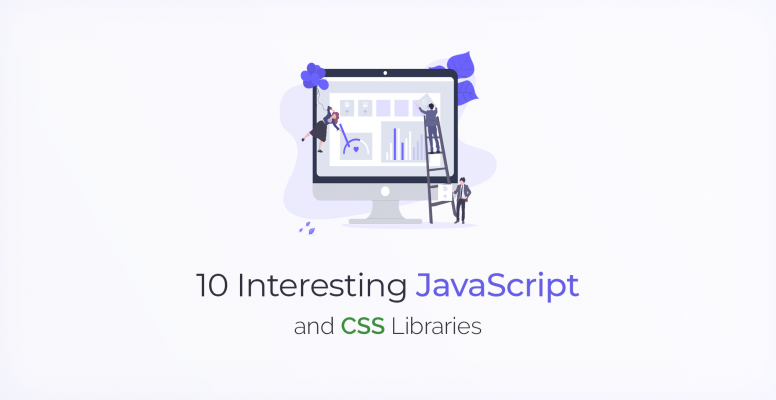
Our first web dev resources collection for 2019 comes packed with awesome JS libraries, cool productivity tools, and lots of design freebies.
Continue reading on Tutorialzine.
A recap of our favorite web dev resources for 2018, featuring some of the best libraries, frameworks and tools of the past year.
Continue reading on Tutorialzine.
This November's collection is packed with some powerful CSS frameworks, awesome date and time library and JS tools.
Continue reading on Tutorialzine.